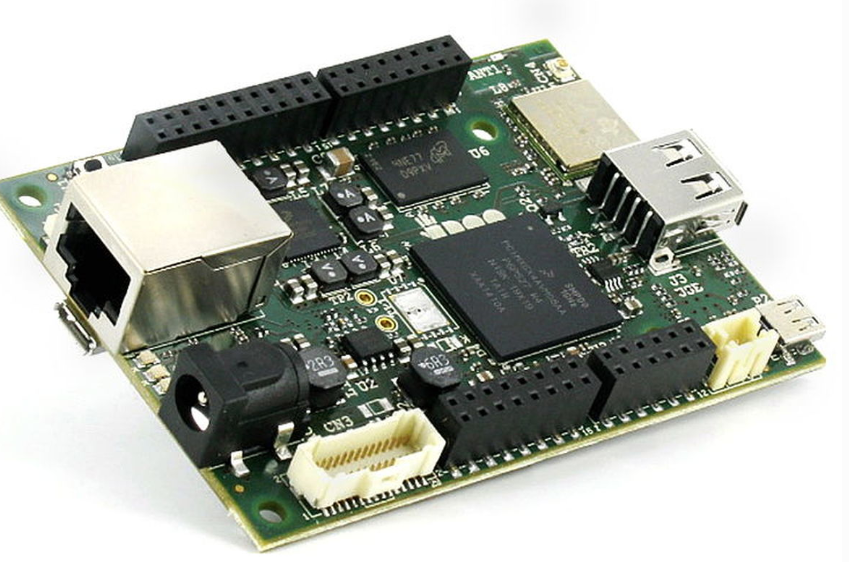
Udoo Neo
This tutorial will show you how to set up a Udoo Neo device.

Set up the board manually
You can choose to configure the required image by yourself.
This will imply flashing an image with the OS (Ubuntu), installing the STUDIO Supervisor container and setting up some configuration files.
Download the Ubuntu image
You will need to:
- Download a Ubuntu Image
- Install the Studio Supervisor
- Setup a provisioning file
Download the Ubuntu 16 image for Udoo Neo.
Flash the image
The downloaded image needs to be flash (written) to an SD card. The minimum size of the SD card is 4 GB.
Note
We recommend a minimum of 8 GB Class 10 SD Card. For small applications 4 GB might be enough.
To flash the image, you will need a special software. The recommended application is Etcher.
Note
For Linux users, you may use the dd utility.
Install STUDIO Supervisor
To be able to access the Studio network, the Udoo Neo needs to run the STUDIO Supervisor software. The following tutorial will explain how to install it.
After writing the SD Card, insert it into the board and start the device. You will have to access it. This can be done either by:
- connecting the Udoo Neo to the network and use a SSH to connect to it
- connect a monitor and a keyboard to the board
If you are using SSH, you will have to input 192.168.7.2 as the host IP address and then login with the appropriate credentials:
username: udooer
password: udooer
Install Dependencies
The dependencies you will have to install are:
- supervisor: allows you to monitor processes related to a project
- redis: database management system
- build-essential: reference package for all the packages required for compilation
- git: required for the npm install command to download git included package
- python3-pip: python 3 programming language
sudo apt-get update
sudo apt-get install -y supervisor redis-server build-essential git python3-pip


# To enable the Notebook tab, you should also run
sudo pip3 install redis pygments
Install Node.js
The next step is to install NodeJS.
For Udoo Neo, the ARMv7 version of Node.js is required, meaning that the bash commands are:
wget https://nodejs.org/dist/v10.16.3/node-v10.16.3-linux-armv7l.tar.xz

tar xvJf node-v10.16.3-linux-armv7l.tar.xz
After installing and unziping Node, you should reboot the board and restart the session and remove old node:
sudo rm /usr/bin/npm
sudo rm /usr/bin/npx
sudo rm /usr/lib/node_modules
Continue the configuration by running the following commands:
cd node-v10.16.3-linux-armv7l

sudo cp -R * /usr

sudo ln -s /usr/lib/node_modules /usr/lib/node

cd ..

rm -rf node-v10.16.3-linux-armv7l
Install studio-supervisor
In order to install studio-supervisor, the following commands are required:
sudo su -
npm install -g --unsafe-perm studio-supervisor

exit
sudo mkdir /wyliodrin
Write the supervisor script
Using nano editor, write the /etc/supervisor/conf.d/studiosupervisor.conf file with the following contents:
To start the editor, type
sudo nano /etc/supervisor/conf.d/studio-supervisor.conf
[program:studio-supervisor]
command=/usr/bin/studio-supervisor udooneo
home=/wyliodrin
user=udooer
Press Ctrl+X to save and exit the editor. Press Y when whether to save the file.
After that, you have to make the /wyliodrin directory your home directory:
sudo chown udooer:udooer /wyliodrin
cp /home/udooer/.bashrc /wyliodrin/.bashrc
The final step is to refresh the board by running the command:
sudo supervisorctl reload
Connecting via web
The connection of a Udoo Neo board to the web version of Wyliodrin STUDIO demands an Internet connection and the creation of a file, wyliodrin.json, that will be written and stored on the SD card. The purpose of this configuration file is to keep a series of particular informations about the device and the platform, so the both instances be able to recognize and communicate with each other.
Acquiring the wyliodrin.json file assumes that you will have to launch the web version of the application and to click on the Connect button. After selecting the New Device option from the popup, a new dialog box will be opened and will ask you for the name of your new device.
Once you start typing the name of your device, a JSON structure is automatically generated depending on the entered data. The format of the object consists of the following properties:
| Property title | Description |
| token | unique identifier for the device, automatically assigned by the program |
| id | device name, updated as you change the name in the input box |
| server | endpoint |
The content of this JSON structure has to be copied into a file that you will name wyliodrin.json, as mentioned before.
To add this file, you will have to connect the device to Wyliodrin STUDIO, open the Shell tab and run:
sudo nano /boot/wyliodrin.json
After creating the configuration file to the destination indicated, you can hit the Connect button of the web application. At this point, you should see your Udoo Neo device into the list of available devices and by clicking on its name you will be able to connect it to the IDE.