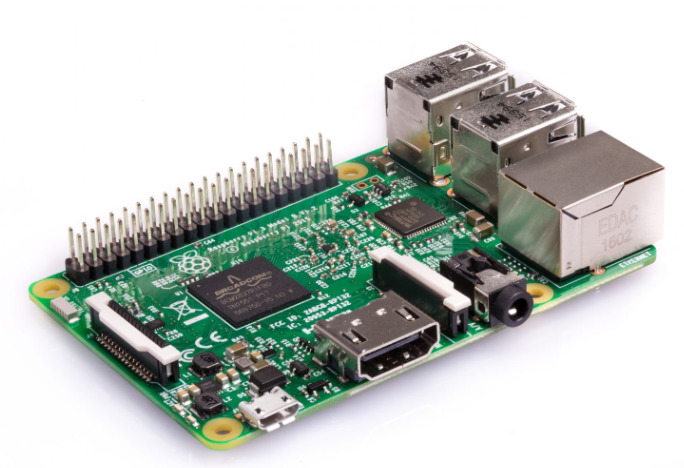
Raspberry Pi
This will show how to set up a Raspberry Pi device.

Video
A quick video explaining how to connect the Raspberry Pi. A detailed tutorial is available below.
Download the pre-configured image
The easiest way to set up a Raspberry Pi board so that it becomes available for Wyliodrin STUDIO is to download an image that is already configured.
Download the image for Raspberry Pi Zero and Raspberry Pi 1.
Download the image for Raspberry Pi 2, Raspberry Pi 3 and Raspberry Pi 4.
Once the image downloaded and unziped, the only thing that you have to do is to flash it. After that, you can simply insert the SD card into the Raspberry Pi and your board should be visible within Wyliodrin STUDIO.
Set up the board manually
However, you can also choose to configure the required image by yourself.
This will imply flashing an image with the OS (Raspbian), installing the STUDIO Supervisor container and setting up some configuration files.
Download the Raspbian image
You will need to:
- Download a Raspberry Pi Image
- Install the Studio Supervisor
- Setup a provisioning file
Raspbian is provided in two flavors, Desktop and Lite. The first one is packed with all the desktop user interface and applications while the second one contains only the minimum OS without any applications. The second one is just what we want for Studio, as we will deploy all the applications that want.
Download the Raspbian Lite image from the Raspberry Pi foundation. This is the standard OS for the Raspberry Pi provided by the manufacturer.
Flash the image
The downloaded image needs to be flash (written) to an SD card. The minimum size of the SD card is 4 GB.
Note
We recommend a minimum of 8 GB Class 10 SD Card. For small applications 4 GB might be enough.
To flash the image, you will need a special software. The recommended application is Etcher.
Note
For Linux users, you may use the dd utility.
Install STUDIO Supervisor
To be able to access the Studio network, the Raspberry Pi needs to run the STUDIO Supervisor software. The following tutorial will explain how to install it.
After writing the SD Card, insert it into the Raspberry Pi and start the Raspberry Pi. You will have to access it. This can be done either by:
- connecting the Raspberry Pi to the network and use a SSH to connect to it (If you are using Raspberry Pi Zero and you want to use SSH, you will need an USB-OTG adapter to get connected to the network.)
- connect a monitor and a keyboard to the Raspberry Pi
Note
Using the SSH will require to enable it before. Insert the SD card into your computer. One (or two if Linux) partitions will show up. On the FAT partition (the first one), create and empty file named ssh.
Install Dependencies
The dependencies you will have to install are:
- supervisor: allows you to monitor processes related to a project
- redis: database management system
- build-essential: reference package for all the packages required for compilation
- git: required for the npm install command to download git included package
- python3-pip: python 3 programming language
- docker: containerization technology
sudo apt-get update
sudo apt-get install -y supervisor redis build-essential git python3-pip docker-ce docker-ce-cli containerd.io


# To enable the Notebook tab, you should also run
sudo pip3 install redis pygments
Note
If the docker feature does not work, you can install it manually following the steps that can be found in Install Docker manually
Install Node.js
The next step is to install NodeJS, considering the model of Raspberry Pi that you are using.
For Pi Zero and Pi 1, you will need the ARMv6 version of Node.js, so you will run the following commands:
wget https://nodejs.org/dist/v10.16.3/node-v10.16.3-linux-armv6l.tar.xz

tar xvJf node-v10.16.3-linux-armv6l.tar.xz

cd node-v10.16.3-linux-armv6l

sudo cp -R * /usr

sudo ln -s /usr/lib/node_modules /usr/lib/node

cd ..

rm -rf node-v10.16.3-linux-armv6l
For Pi 2, Pi 3 and Pi 4 models, the ARMv7 version of Node.js is required, meaning that the bash commands are:
wget https://nodejs.org/dist/v14.15.1/node-v14.15.1-linux-armv7l.tar.xz

tar xvJf node-v14.15.1-linux-armv7l.tar.xz

cd node-v14.15.1-linux-armv7l

sudo cp -R * /usr

sudo ln -s /usr/lib/node_modules /usr/lib/node

cd ..

rm -rf node-v14.15.1-linux-armv7l
Install studio-supervisor
In order to install studio-supervisor, the following commands are required:
sudo su -
npm install -g --unsafe-perm studio-supervisor

exit
sudo mkdir /wyliodrin
Write the supervisor script
Using nano editor, write the /etc/supervisor/conf.d/studiosupervisor.conf file with the following contents:
To start the editor, type
sudo nano /etc/supervisor/conf.d/studio-supervisor.conf
[program:studio-supervisor]
command=/usr/bin/studio-supervisor raspberrypi
home=/wyliodrin
user=pi
Press Ctrl+X to save and exit the editor. Press Y when whether to save the file.
After that, you have to make the /wyliodrin directory your home directory:
sudo chown pi:pi /wyliodrin
cp /home/pi/.bashrc /wyliodrin/.bashrc
The final step is to refresh the board by running the command:
sudo supervisorctl reload
Install Docker manually
In order to install Docker, the following commands are required: .. code-block:: bash
sudo apt-get update && sudo apt-get upgrade curl -fsSL https://get.docker.com -o get-docker.shgit config –global user.email “youremail@yourdoma sudo sh get-docker.sh sudo usermod -aG docker pi
Now, you’ll have to restart the board using: .. code-block:: bash
sudo reboot
To see if the installation worked, check the Docker version: .. code-block:: bash
docker version
Note
For raspberry pi 0 , in order to work, after your first try to create a container, you have to go to the menu, select Use Advanced Mode and, in the dockerfile, change the default image with: FROM /balenalib/raspberry-pi-node:14.
Connecting via web
The connection of a Raspberry Pi board to the web version of Wyliodrin STUDIO demands an Internet connection and the creation of a file, wyliodrin.json, that will be written and stored on the SD card. The purpose of this configuration file is to keep a series of particular informations about the device and the platform, so the both instances be able to recognize and communicate with each other.
Acquiring the wyliodrin.json file assumes that you will have to launch the web version of the application and to click on the Connect button. After selecting the New Device option from the popup, a new dialog box will be opened and will ask you for the name of your new device.
Once you start typing the name of your device, a JSON structure is automatically generated depending on the entered data. The format of the object consists of the following properties:
| Property title | Description |
| token | unique identifier for the device, automatically assigned by the program |
| id | device name, updated as you change the name in the input box |
| server | endpoint |
The content of this JSON structure has to be copied into a file that you will name wyliodrin.json, as mentioned before. Once the file created and saved, it has to be stored on the SD card, in the partition called boot. This action can be done by inserting the flashed card into your personal computer, which will lead to the automatic opening of the boot partition.
After copying the configuration file to the destination indicated, you can insert the SD card into the Raspberry Pi, connect the board to the Internet and power it on. At this step, if you hit the Connect button of the web application, you should see your Raspberry Pi device into the list of available devices and by clicking on its name you will be able to connect it to the IDE.
Wyliolab Board

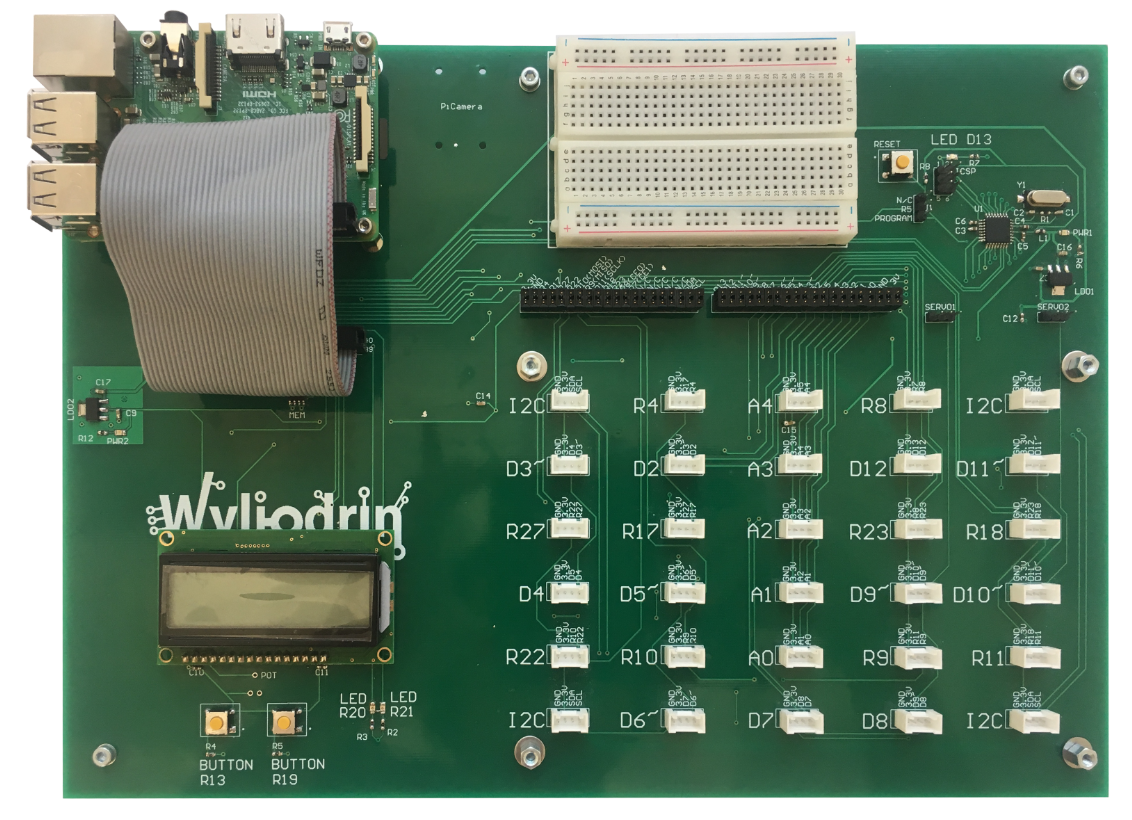
If you are using the Wyliolab boards, you can download the pre-configured image for Pi Zero and Pi 1, or the image for Pi 2, Pi 3 and Pi 4.
If you choose to continue the manual setup for the Raspberry Pi of the Wyliolab board, you should run the following commands:
sudo pip3 install wyliozero

sudo su -
npm install -g --unsafe-perm studio-supervisor

exit
sudo nano /etc/supervisor/conf.d/studio-supervisor.conf
[program:studio-supervisor]
command=/usr/bin/studio-supervisor raspberrypi wyliolab
home=/wyliodrin
user=pi
After modifying the content of the studio-supervisor.conf file, you will have to run:
sudo raspi-config
In the prompt that will be opened, you will have to select the fifth option(Interfacing Options), then in the Configuration Tool section you will have to pick P6 Serial in order to disable the shell and enable the serial port.
The final step before using the Wyliolab board is to reboot it.
Set up wireless
To set up your board wireless, please follow the steps in the link: Set up wireless:.